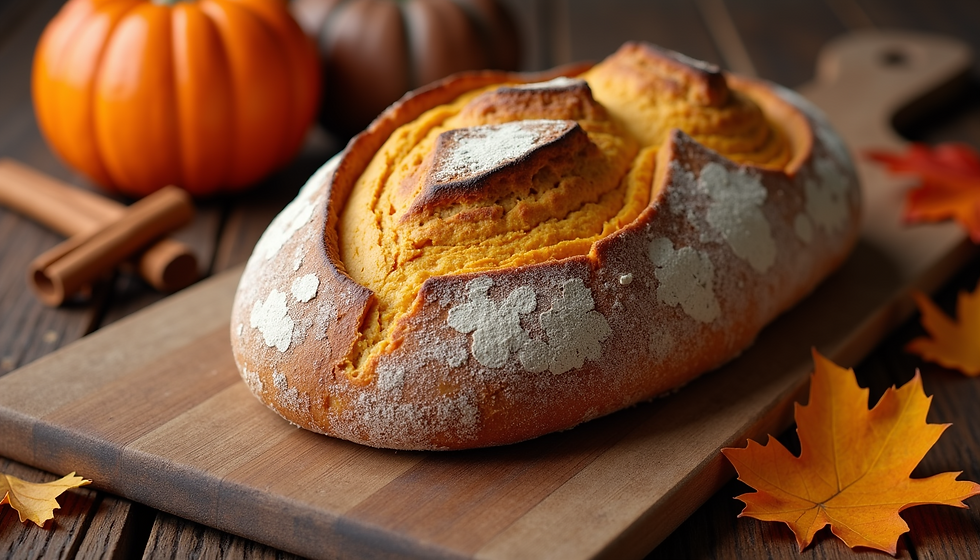
Quick Steps to Perfect Sourdough Bread
- STUpendous

- Sep 10
- 4 min read
If you’ve ever dreamed of baking your own sourdough bread but felt overwhelmed by the process, I’m here to tell you it’s easier than you think! Sourdough has this magical charm - a crispy crust, a chewy crumb, and that tangy flavor that makes every bite worth it. Plus, it’s a rewarding experience that connects you to a centuries-old tradition. Today, I’ll walk you through quick steps to perfect your easy sourdough recipe. Ready to get your hands floury and your kitchen smelling amazing? Let’s dive in!
Why Choose an Easy Sourdough Recipe?
Sourdough baking can seem intimidating with all the talk about starters, proofing times, and scoring techniques. But an easy sourdough recipe breaks it down into manageable steps that anyone can follow. The best part? You don’t need fancy equipment or tons of ingredients. Just flour, water, salt, and your trusty sourdough starter.
Here’s why I love starting with an easy sourdough recipe:
Saves time without sacrificing flavor.
Builds your confidence with simple, clear instructions.
Helps you understand the basics before experimenting with more complex techniques.
Produces delicious bread that’s perfect for sandwiches, toast, or just eating plain.
If you want to try a quick sourdough recipe that’s beginner-friendly and yields fantastic results, I highly recommend checking out that link. It’s a great starting point!

Step 1: Preparing Your Starter
Your sourdough starter is the heart and soul of your bread. It’s a natural leavening agent made from wild yeast and bacteria that give sourdough its unique flavor and rise. If you don’t have a starter yet, don’t worry! You can either make one from scratch or get some from a friend or bakery.
Here’s how to prepare your starter for baking:
Feed your starter about 4-6 hours before you plan to mix your dough. This means adding equal parts flour and water to keep it active and bubbly.
Look for bubbles and a pleasant, slightly tangy smell - that’s your starter telling you it’s ready.
Use about 100 grams of starter for a standard loaf recipe.
Pro tip: If your starter is new or sluggish, give it a few feedings over a couple of days to build strength.
Step 2: Mixing the Dough for Your Easy Sourdough Recipe
Now that your starter is lively, it’s time to mix the dough. This step is straightforward and fun!
Ingredients you’ll need:
500 grams bread flour (you can mix white and whole wheat)
350 grams water (room temperature)
100 grams active sourdough starter
10 grams salt
How to mix:
In a large bowl, combine the flour and water. Stir until no dry flour remains. This is called the autolyse phase and helps develop gluten.
Cover the bowl and let it rest for 30-45 minutes.
Add the sourdough starter and salt to the dough.
Mix everything together until well combined. You can use your hands or a spoon.
Transfer the dough to a clean surface and knead gently for about 5-7 minutes until it feels elastic but not sticky.
This simple mixing method sets the foundation for a great loaf without complicated steps.

Step 3: Bulk Fermentation and Stretch & Fold
Bulk fermentation is when your dough rests and ferments, allowing the yeast to work its magic. This step is crucial for flavor and texture.
Cover your dough with a damp towel or plastic wrap.
Let it sit at room temperature for 3-4 hours.
Every 30 minutes during the first 2 hours, perform a stretch and fold: gently pull one side of the dough up and fold it over the rest. Rotate the bowl and repeat 3-4 times.
This technique strengthens the dough without heavy kneading and helps trap air bubbles for a light crumb.
Don’t rush this step! The dough should rise noticeably and feel airy when done.
Step 4: Shaping and Proofing Your Loaf
Once your dough has bulk fermented, it’s time to shape it into a loaf.
Lightly flour your work surface.
Turn the dough out and gently shape it into a round or oval loaf.
Place the shaped dough into a floured banneton basket or a bowl lined with a clean kitchen towel.
Cover and let it proof for 1-2 hours at room temperature, or overnight in the fridge for a slower, more flavorful rise.
Proofing is the final rise before baking. You’ll know it’s ready when the dough springs back slowly when poked.

Step 5: Baking Your Perfect Sourdough Bread
Baking is where all your hard work pays off! Here’s how to get that perfect crust and crumb:
Preheat your oven to 475°F (245°C) with a Dutch oven or heavy baking pot inside.
Carefully transfer your dough onto parchment paper.
Score the top with a sharp knife or razor blade to allow expansion.
Place the dough (with parchment) into the hot Dutch oven and cover with the lid.
Bake covered for 20 minutes, then remove the lid and bake for another 20-25 minutes until the crust is deep golden brown.
Let the bread cool completely on a wire rack before slicing.
The steam trapped inside the Dutch oven creates that crispy crust we all love.
Keep Experimenting and Enjoying!
Baking sourdough is a journey, and every loaf teaches you something new. Don’t worry if your first few tries aren’t perfect - even imperfect sourdough tastes amazing! Play with hydration levels, flour types, and fermentation times to find your favorite style.
Remember, the key to success is patience and practice. Soon, you’ll be impressing friends and family with your homemade bread that’s bursting with flavor and character.
Happy baking, and may your kitchen always smell like fresh sourdough!
If you want to explore more recipes and tips, check out this quick sourdough recipe for a fast and tasty loaf you can make anytime.


Comments